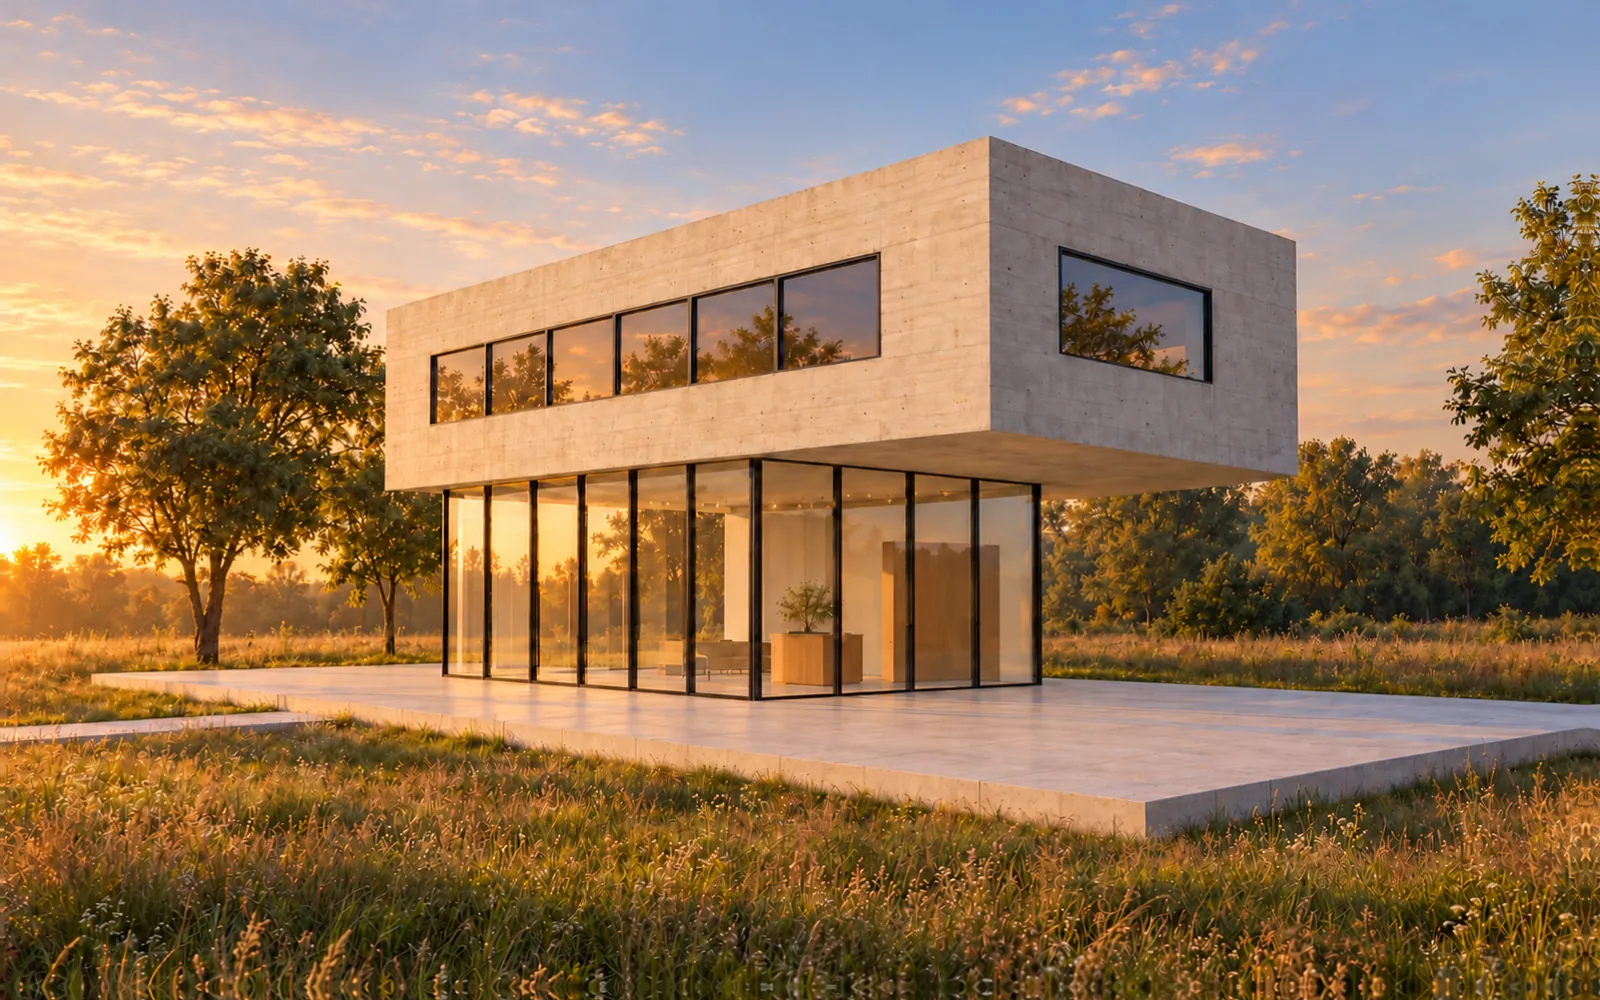
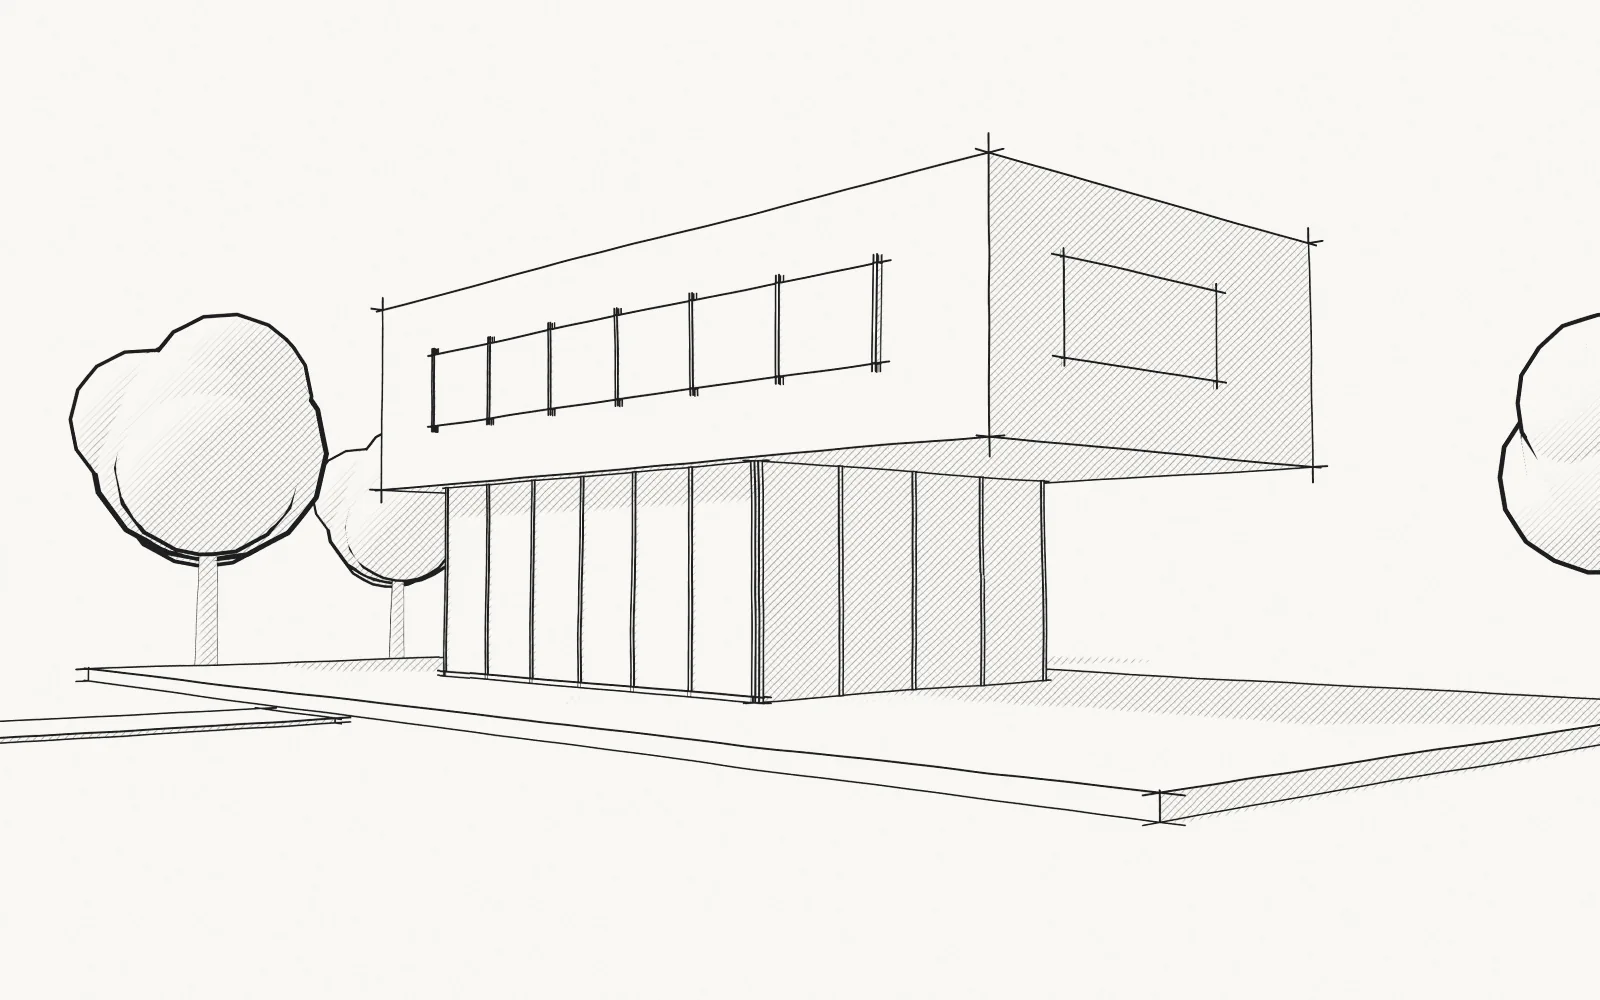
4K for print3840 × 2160 px
Sharp enough for an A1 board.
Final images in 2K for screens, or 4K for competition panels and print.
AI renders for architects
Photoreal renders from a hand sketch, or a CAD or 3D screenshot, in about 20 seconds. No prompts. The first one is free.
Why Sketchfest
Here it takes seconds. A classic render means modelling, materials, lights, render time and retouching: hours for every image.
Time per image
The usual wayhours for every image
Model, materials, lights, render, retouch
Sketchfestabout 20 seconds
What you can drop in
A sketch on paper, or a screenshot of your CAD drawing or 3D model. No DWG or model files: a screenshot is all it needs.
Sketchfest reads images. Frame the view in your CAD or 3D program, take a screenshot, then drop or paste it here.
Mac ⇧⌘4Windows WinShiftS
Drop theseJPGPNGWEBP
Screenshot these firstDWGDXFSKPRVT3DM
How it works
It keeps the geometry you drew, works out depth from your perspective, then adds light, materials and context.
Layers4
Looks
Pick the light and the mood with one click. Drag the line to compare the render with the sketch.
Looks6
Features
Quick studies for 1 credit, then final images in 2K or 4K for boards and print.
4K for print3840 × 2160 px
Final images in 2K for screens, or 4K for competition panels and print.
Follows your lines
Exactly keeps every line. Loosely lets the AI add ideas of its own.
Any format
Keep your drawing's shape, or pick 16:9, 3:2, 4:3, 1:1, 4:5 or 9:16.
Fast
Try all six looks in about two minutes, then make the best one 2K or 4K.
Phone first
Take a photo with your phone, pick a look and render. No scanner, no laptop.
Private by default
Projects are visible only to you, and you can delete anything at any time.
Questions
Still unsure? Write to [email protected] and a real person will reply.
Drag and drop your drawing
A sketch, or a CAD or 3D screenshot.
Or choose a file, or paste one.
One project per drawing, with every render you made from it. Only you can see them.
Your first test render is free. Then pick a plan for fresh credits every month.
Tell us roughly what you make in a month.
Anything else? Write to [email protected] and a real person will reply.
Save one 3D camera view and hide the levels, grids and section box. Then render it in Revit, send it to an engine such as Twinmotion or Enscape, or export a clean image and upload it to Sketchfest.
By the Sketchfest team9 min read
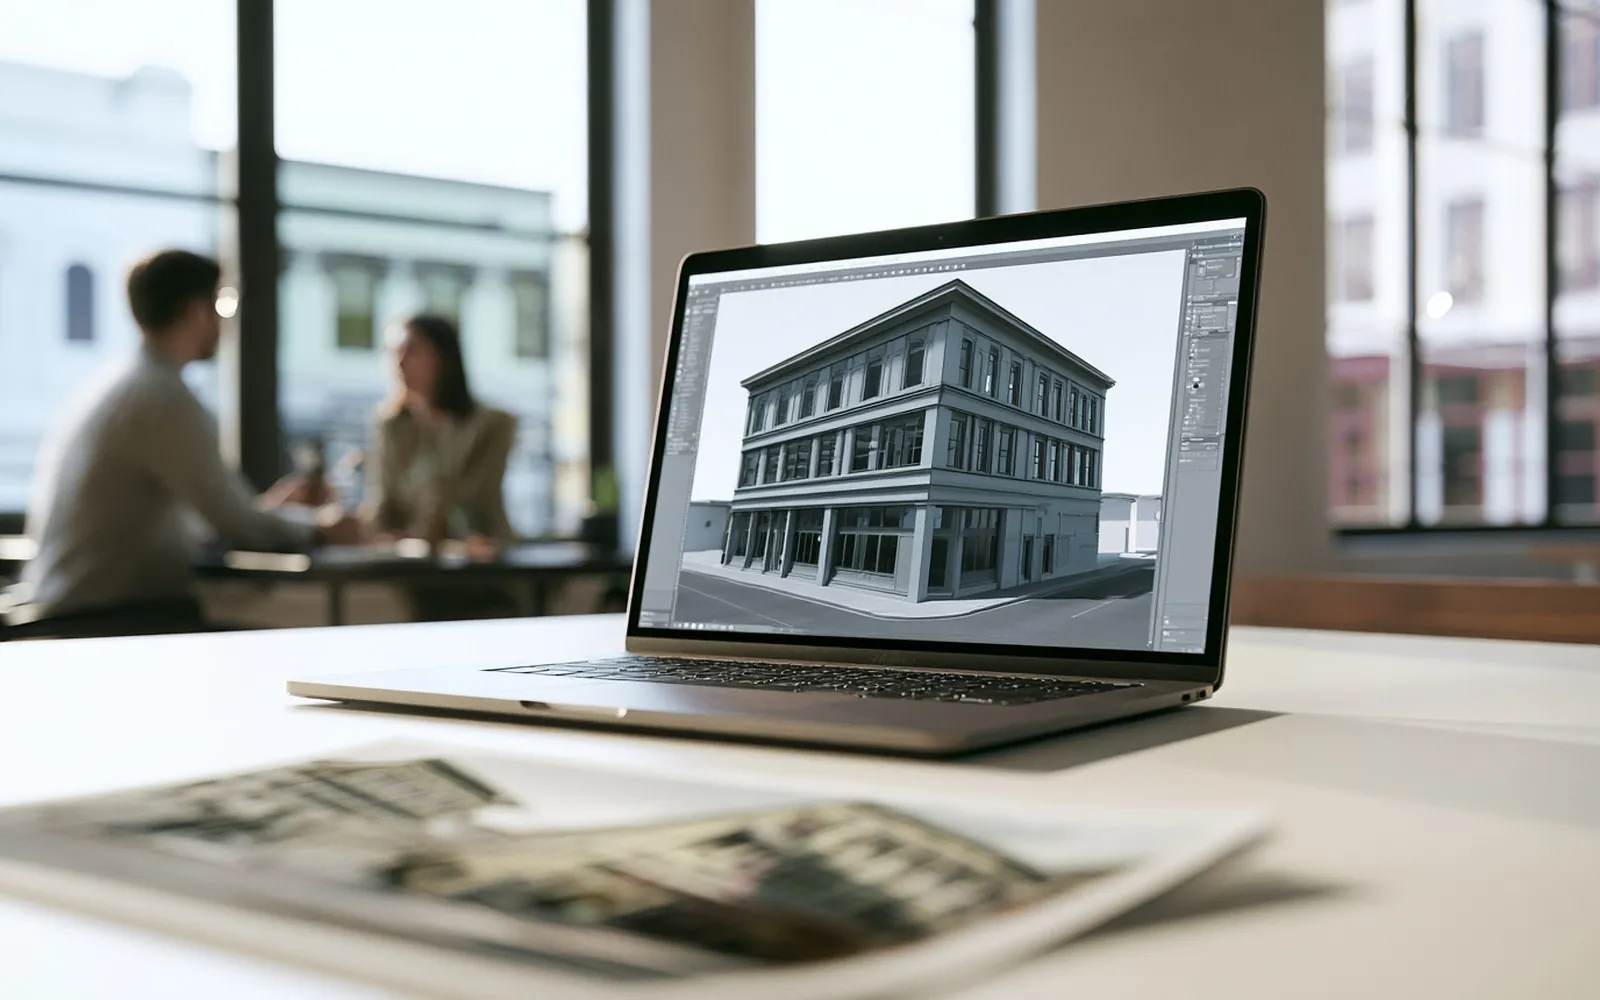
Revit holds the real design, down to every wall and window. But a Revit view is a working view, not yet a picture for a client. Getting there means picking a route that fits your software, and fit matters: in the 2026 Chaos and Architizer survey, 33% of AI users named poor compatibility with their current software as a key obstacle.
This guide covers the three routes and the view settings that make each one work. Revit facts come from Autodesk's Revit 2027 Help, checked on 27 October 2026. For AI rendering in general, see how to render architecture with AI.
Even Revit's Realistic style is a view to work in, not a finished image. For a photoreal image there are three routes: Revit's own renderer, a render engine such as Twinmotion, Enscape or V-Ray, or a clean view exported into Sketchfest, which turns it into a photoreal render that follows your model.
| Route | What you need | Pricing model (October 2026) | Best for |
|---|---|---|---|
| Revit's renderer | Revit and a 3D view | Included in Revit; Render in Cloud uses Cloud Credits | Stills without another program |
| Render engine | The engine, its Revit link and often a capable graphics card | Twinmotion included with Revit subscriptions; others by subscription or free tiers | Final images, walkthroughs and VR |
| Clean view into Sketchfest | Any Revit view and a browser | An online service, nothing to install | Your design in seconds, from any program or paper |
Every route starts from one saved perspective 3D view.
Then clean up what the view shows. Type VG to open Visibility/Graphics, and on the Annotation Categories tab clear Levels, Grids, Reference Planes, Scope Boxes, Section Boxes and any tags or dimensions. To hide one object, right-click it and choose Hide in View. Temporary Hide/Isolate is quicker, but the objects return when you close the project.
Graphic Display Options, under Visual Style on the View Control Bar, hold most of a view's look. Renderers replace the style with materials and light, but for an export into Sketchfest, the picture is all the AI sees.
Revit 2027 has six visual styles. These four are the ones to choose from for an export:
| Visual style | What Revit shows | What the AI gets from it |
|---|---|---|
| Hidden Line | Every edge, except those hidden behind surfaces | The form in clean lines, but no materials |
| Shaded | Each face in its material's shading colour | Form and colour, if the materials are assigned |
| Consistent Colors | All surfaces by their material colour settings | Even colours, with no light direction |
| Realistic | Material appearances and artificial lighting | The closest view to the design, with edges on |
A good start is Shaded or Realistic, with Show Edges and Smooth lines with anti-aliasing on, Transparency at 0, ambient and cast shadows on, and Sketchy Lines and Depth Cueing off. Click Save as View Template, and the next camera view gets the same look.
Materials. In Shaded, each material shows the shading colour from its Graphics tab, often a plain grey. Tick Use Render Appearance there, and Revit uses an average colour of the material's render appearance instead. Assign real materials before any route.
Sun. Open Sun Settings from Sun Path, choose Still and set a date and time. One catch, in Autodesk's words: "The ground plane is not used in rendered views." For shadows on the pavement, model the pavement.
Revit's engine, Autodesk Raytracer, is in Autodesk's words "physically-based and unbiased": it follows the paths light takes through your model as accurately as it can.
Size counts: Autodesk says doubling the resolution, for example from 75 to 150 dpi, can make a render take 2 to 4 times as long, 2.7 times on average. In the 2025 Chaos and Architizer survey, 43% of firms called slow rendering times a major challenge. So check at Draft and Screen resolution, and render the final once the view is right.
Render in Cloud, on the View tab, sends the view to Autodesk Rendering while your computer stays free. It is for Autodesk subscribers and needs Cloud Credits.
Inside Revit 2027 there is no AI image tool. Autodesk's AI rendering sits in Forma Board, an online project board that Revit subscriptions now include, where teams can generate renderings from sketches and images.
A render engine calculates the image from your model, so what you model is what you get: the right choice for precise finals, films and VR.
Twinmotion, from Epic Games, is "an entitlement included with all Revit subscriptions". Install it from your Autodesk account, open your camera view and click Twinmotion on Revit's View tab. Auto Sync sends changes as you work; Autodesk recommends it for small to medium models.
Enscape opens a real-time window beside Revit that follows your changes. V-Ray 7 for Revit renders inside Revit.
From the makers' own pages, checked on 27 October 2026:
| Engine | How it connects | Pricing model |
|---|---|---|
| Twinmotion | Separate program, with Auto Sync | Included in Revit subscriptions |
| Enscape | Plugin with a live window; Revit 2027 since May 2026 | Subscription |
| V-Ray for Revit | Plugin, renders inside Revit | Subscription, with monthly AI credits |
| Lumion Pro | Separate program, LiveSync plugin; Windows only | Lumion Pro subscription |
| D5 Render | Separate program, D5 Sync; Windows only | Free for non-commercial use; Pro and Teams paid |
For each engine in depth, read the top 5 rendering software for architects.
This route skips the render settings and the plugin.
A screenshot of the view, cropped to the building, works too.
Sketchfest is built for architects and for showing a design as it is today. Upload a hand sketch, a CAD screenshot or a 3D view, such as an exported Revit view, and you get a photoreal render of your design in seconds. It follows your drawing, so the building stays yours. There are no prompts to write and nothing to install: it works in the browser.
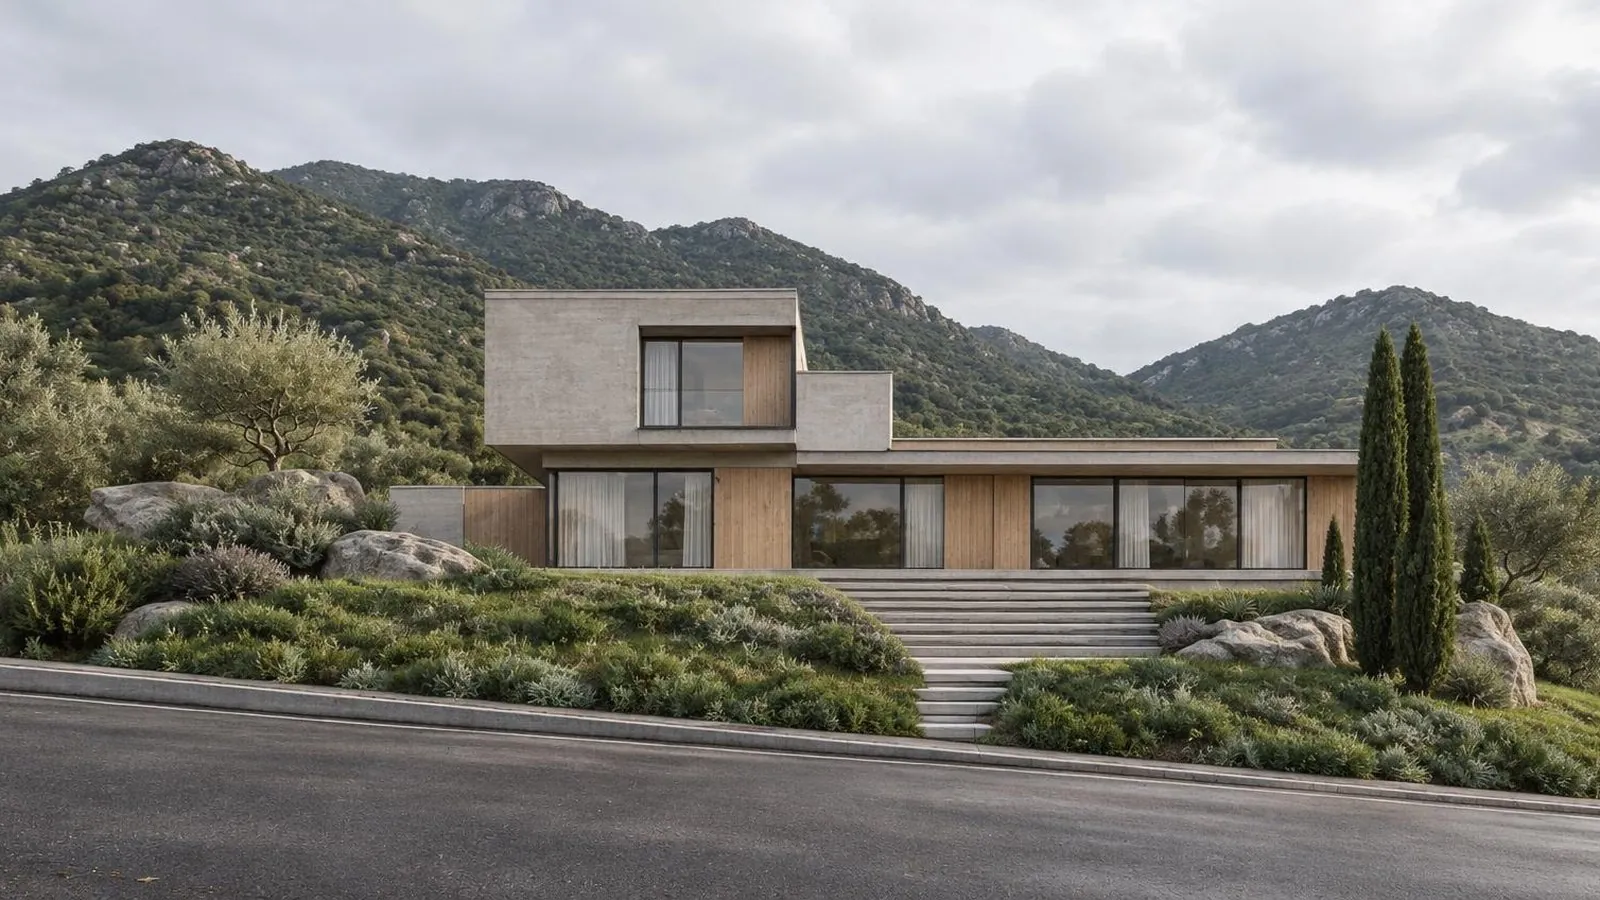
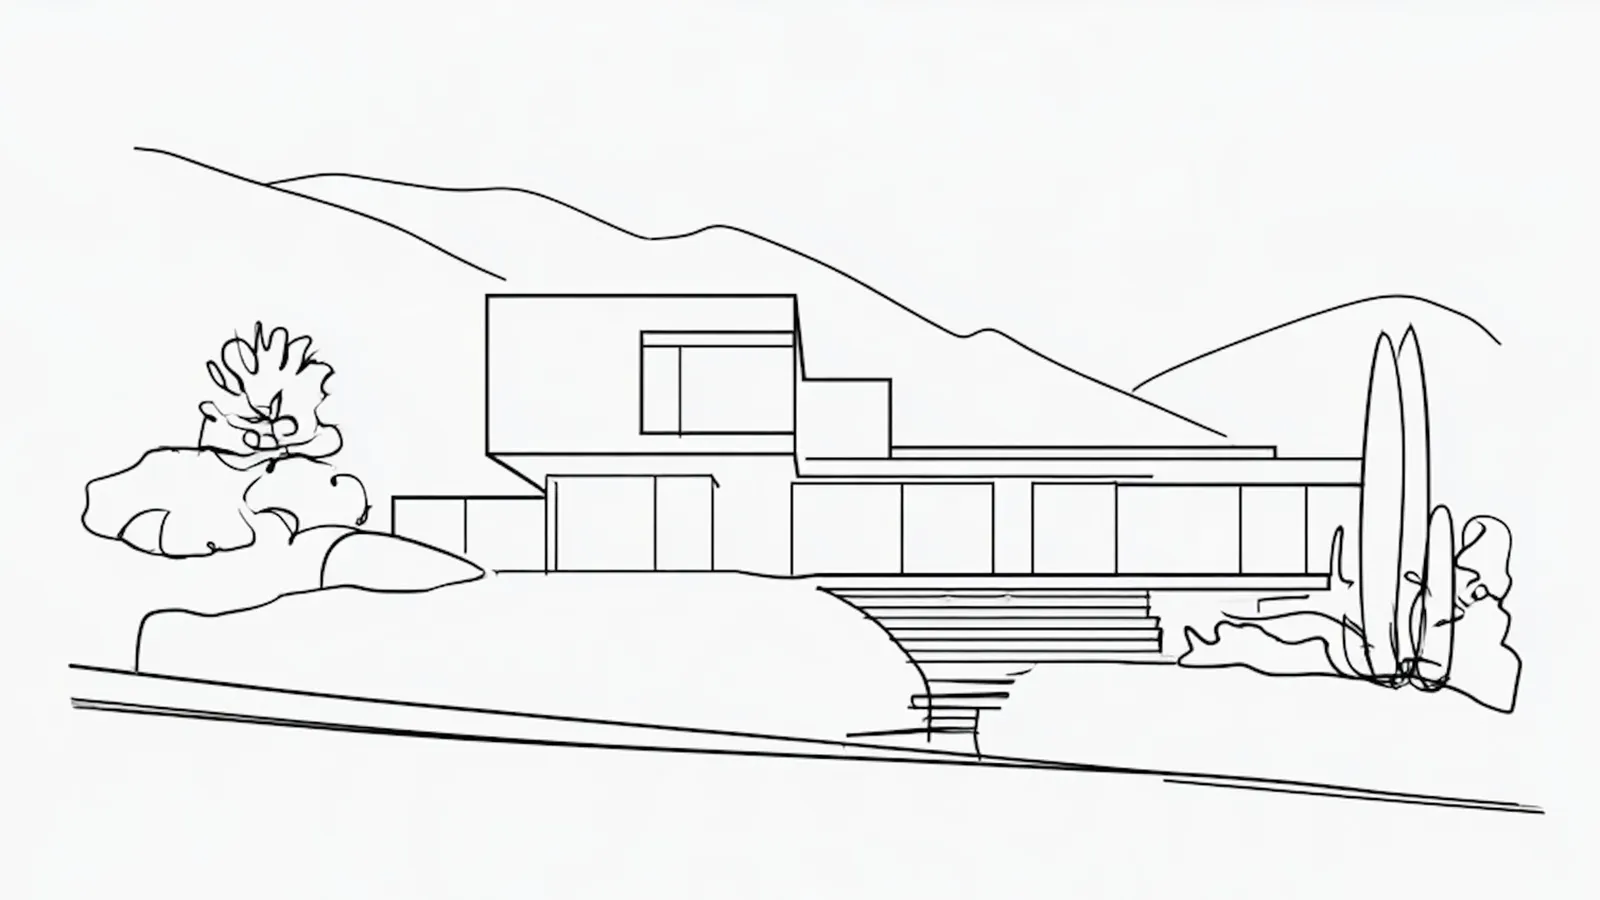 RenderHand sketch
Your projects stay private, and your drawings aren't used to train AI.
Early design images are where architects use AI most: in RIBA's 2026 survey, early-stage design visualisation was the top AI task, named by 56% of AI users.
| If you | Take | Why |
|---|---|---|
| Want a photoreal still without another program | Revit's renderer | It comes with Revit |
| Want real-time images and walkthroughs at no extra cost | Twinmotion | Included with Revit subscriptions |
| Review designs live, or in VR | Enscape | A live window beside Revit |
| Need quick images of today's design, many times a week | Sketchfest | One export, no render settings |
| Also work in SketchUp or Rhino, or from sketches | Sketchfest | One tool for every program and for paper |
You can mix routes too: Sketchfest while the design moves, then an engine for the finals. To hand the finals to a specialist instead, see how much architects charge for renderings.
In the 2026 Chaos and Architizer survey, 48% of respondents named inconsistent or poor output quality as their biggest challenge with AI. With Revit, many weak images start in the view.
| Mistake | What happens | Fix |
|---|---|---|
| Levels, grids or section box left on | Lines and a box outline across the facade | Clear them in Visibility/Graphics |
| Far clip too close | The back of the building or the street is cut off | Clear Far Clip Active |
| Grey default materials | Every wall the same grey in Shaded | Tick Use Render Appearance |
| No shadow on the ground in a render | The building looks pasted on | Model the ground as a floor or toposolid |
Revit 2027 lists 64-bit Windows 11 and, for Apple computers, Parallels Desktop. Chaos states: "Parallels and Boot Camp are not supported by Enscape". An export into Sketchfest needs only a browser, so it works wherever Revit runs.
For a view, use a larger Fit To value when you export. For a render, set Output to Printer with a DPI value first. For print sizes, see what resolution an A1 architecture board should be.
Try it on your drawing. Your first test render is free.
Drop a hand sketch, or a CAD or 3D screenshot. Your first test render is free.
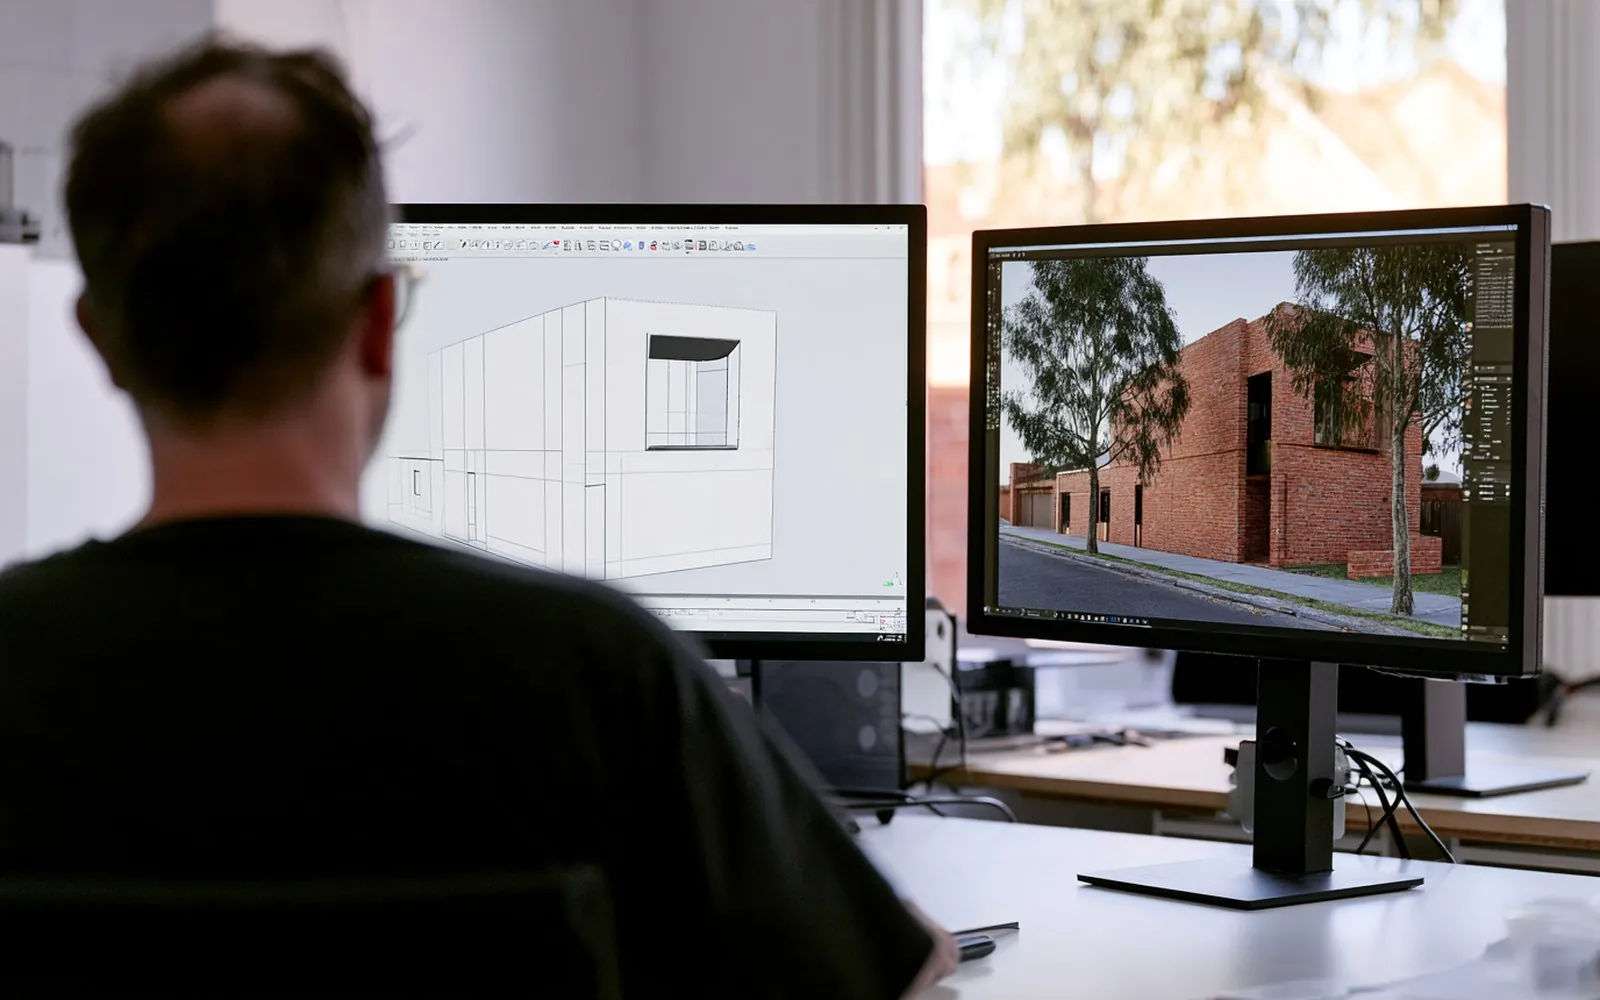 Using Sketchfest
Three ways: SketchUp's own AI Render, a render engine such as V-Ray, Enscape or Twinmotion, or a clean exported view uploaded to Sketchfest. Start from one saved Scene, then pick the route that suits you.
8 min read AI in practice
There are two ways: describe a building in words and let the AI imagine it, or start from your own drawing and let the AI turn it into a photoreal image.
9 min read AI in practice
Our top five: Enscape, Lumion, Twinmotion, V-Ray and D5 Render. Choose by the program you model in, your computer and the job: real-time for design reviews, ray-traced for final stills.
9 min readLast updated 3 November 2026
The short version
Sketchfest (sketchfest.ai) is run by BNER Limited, a private company limited by shares incorporated in Hong Kong (company number 80898063), with its registered office at Unit 1603, 16/F, The L. Plaza, 367-375 Queen's Road Central, Sheung Wan, Hong Kong. You can reach us at [email protected]. In these terms, "we" means BNER Limited and "you" means the person or business using Sketchfest. These terms are the agreement between you and us for using Sketchfest. You buy paid plans from us, and Stripe takes the payment (section 7). All our details are on the company details page.
Sketchfest turns hand sketches, and screenshots of CAD drawings and 3D models, into images using artificial intelligence (AI). The images are made by AI models from other companies, at present OpenAI, with Microsoft as a backup (see the privacy policy). AI results vary: the same drawing can give different images, and an image may not follow your drawing exactly or may show things that are not in it. The images are visual studies, not technical or construction drawings. Render times we show are typical, not promised.
You sign in with a code or a link we email you, or with Google where we offer it. There are no passwords, so keep access to your email account safe: anyone who can read it can sign in. An account is for one person; please do not share it. You must be at least 16 to use Sketchfest, and if you are under 18 you need the permission of a parent or guardian. To buy a plan you must be an adult where you live. Please use an email address you read, because we send sign-in codes and links, downloads and notices about your plan there, and keep your details up to date.
Everyone can make one free test render. You give us your email address and we send you a 6-digit code and a link: typing the code, or opening the link, confirms the address, opens your free account and starts the render. Both work for 24 hours. There is one free render per person, per email address (an address with a +tag, or a Gmail address with dots, counts as the same address), per account and per device, with a daily limit for each network, and a quick check by Cloudflare Turnstile tells people from bots. If you never use the code or the link, your drawing is removed after 2 days, and its locked safety copy 90 days after that (privacy policy, section 8). We may refuse free renders obtained through several accounts, throwaway email addresses or automated tools.
Sketchfest works with credits. Every action shows how many credits it uses before you start: a test render uses 1 credit, a final image in 2K 5 credits, and a 4K print image 10 credits. Final images in 2K and 4K come with a plan. Costs can change over time, but the cost shown when you start is the one that applies.
Credits are not money. They have no cash value, cannot be transferred or sold, and can only be used on Sketchfest. Credits come with your plan every month and are for that month only: unused credits do not roll over and expire when the next month's credits are due. If a renewal payment is late, your leftover credits stay usable for up to a day while it goes through. Yearly plans get their credits month by month, on the same rule. Extra credits from an upgrade expire with the month they were added to. When your plan ends, its unused credits expire with it.
If a render fails, its credits go back to your account automatically. Every drawing, the words you add and every render go through an automatic safety check, and our AI providers have their own filters too (section 10). If one of them stops a render, it does not run or is not delivered, and its credits come back too.
Sketchfest works by subscription. There are three plans, Basic, Plus and Pro, each with a set number of credits every month, billed monthly or yearly. A plan renews automatically at the end of each period until you cancel. You can cancel at any time on the Billing page. The plan then runs to the end of the period you paid for, you keep its credits until then, and it does not renew. Before a yearly plan renews, you get a reminder by email.
You can move to a bigger plan at any time: you pay the difference for the rest of the current period, at the price shown before you confirm, and get the extra credits straight away. A move to a smaller plan, or between monthly and yearly billing, starts at your next renewal. If we change the price of your plan, we tell you at least 30 days before it applies to you, and you can cancel before then.
Who sells your plan: BNER Limited sells the plans and provides the Sketchfest service. Stripe, our payment provider, takes the payment on its secure checkout page and emails you the receipt.
Prices: in euros. The price shown is the full price you pay. If you buy for a business, tick that you are purchasing as a business at checkout and add your company name and VAT number; you can also add them, with your address, on the Billing page. They appear on your invoices from then on.
Payment: by card, Apple Pay, Google Pay or Link, on Stripe's checkout page. We never see or store your full card details. Your receipts and invoices also appear on the Billing page. If a plan payment fails, it is tried again and we let you know by email; that month's credits arrive once the payment goes through. If it keeps failing, the plan ends.
Help with a payment: write to us at [email protected]. If a payment was taken by mistake or without your permission, tell us and we put it right.
If you are a consumer in the European Union or the United Kingdom, you can withdraw from a purchase within 14 days of buying it, without giving a reason: use Withdraw from contract on the Billing page, or write to us at [email protected], and we confirm by email. Before you pay, you tick a box to ask for your plan to start straight away and to accept these terms and the privacy policy, and your credits are ready as soon as you pay. So if you cancel within the 14 days, you pay for what you have already used, as consumer law allows. What you used is counted in credits, at your plan's price per credit: the price you paid divided by the credits your plan gives for that period. For example, Basic monthly is €9 for 60 credits, so €0.15 a credit; Basic yearly is €90 for 720 credits, so €0.125 a credit. We refund the rest to the payment method you used within 14 days, and your plan and its credits end when you withdraw. We keep a record of your tick (the time, your network address and your email address) to show that you asked. Consumers elsewhere may have a similar right under their local law.
Otherwise, payments are not refundable, including for unused credits or the unused part of a period, except where the law requires it or section 12 applies. We look at other refund requests case by case. If a payment is refunded, the unused credits it bought are removed from your account in proportion. If a render fails, its credits come back to your account by themselves. Your legal rights if Sketchfest does not work as described are not affected (section 13).
Your drawings stay yours. You allow us to store your drawings, your words and the images you make, and to process them, including sending them to our AI providers, only to run Sketchfest for you and keep it safe. This ends when you delete them, except for a locked safety copy that we keep for 90 days, and longer only while a report or safety flag about it is open or the law requires it (privacy policy, section 8). We look at them only as the privacy policy describes, and neither we nor our AI providers use them to train AI models.
We claim no rights in the images you make: as far as there are rights in them, they are yours. You can use them for any lawful purpose, including client work, portfolios, competitions and commercial work. AI can make similar images for other people, so we cannot promise that an image is unique or that it can be protected by copyright. Some competitions and clients have rules about AI images, so check them before you submit.
Images made with Sketchfest carry metadata that marks them as made with AI, as the EU AI Act requires. Please keep it. If you publish an image that people could mistake for a real photograph of a real place or event, say that it was made with AI where the law requires it.
You confirm that you have the right to upload what you upload, and that it does not break the law or anyone else's rights.
Sketchfest is for visuals of architecture, interiors and landscape. Do not upload, write or make any of the following, in a drawing, in your words or in a render:
Do not try to get around the safety checks, credit limits, free-render limits or payments; share your account; or scrape, copy, resell, reverse engineer, overload or probe the service, or use bots or scripts on it without our permission.
How we keep to these rules: every drawing, the words you add and every render go through an automatic safety check before anyone sees the result, and our AI providers have their own filters. What they stop is not rendered or not delivered, and its credits come back. A person on our team then reviews what was stopped, as the privacy policy describes. We may remove content that breaks these rules and suspend or close accounts. For a serious or repeated breach we may close the account at once, without a refund for the current period, except where the law requires one. We report illegal content, above all child sexual abuse material and credible threats, to the police or the responsible authority, and keep it as long as they or the law require. Where we can, we tell you first, give our reasons and let you respond.
If you think content on Sketchfest is illegal or breaks these terms, email [email protected] with where it is, why you think so, and your name and email address. We look at every report promptly and tell you what we decided. If we remove your content or limit your account, we tell you why, unless section 14 allows us not to, and how to challenge the decision; a person reviews every challenge.
We work to keep Sketchfest running, but we cannot promise it will always be available or free of errors. We may change, add or remove features, and change the AI models we use. If we stop a feature you pay for, or close Sketchfest, we tell you at least 30 days in advance and refund the part of your plan you have not used.
Nothing in these terms limits the rights you have as a consumer by law, including your rights if Sketchfest does not work as described (in the EU, the rights for digital services under Directive (EU) 2019/770; in the UK, the Consumer Rights Act 2015), or liability that cannot be limited by law, such as for death, personal injury, fraud or gross negligence. If you are a consumer, we are responsible for loss you suffer that was foreseeable and caused by our breach of these terms.
If you use Sketchfest for a business, our total liability to you in any 12 months is limited to what you paid in those 12 months, and we are not liable for indirect losses such as lost profit, lost business or lost data.
Sketchfest images are visual studies. Check them before you rely on them for design, planning, construction or legal purposes.
You can delete your account at any time on the Account page. This deletes your projects and images and ends your plan at once. Credits you have left are lost, and the rest of the current period is not refunded, without affecting your rights under consumer law. We keep our payment records for as long as accounting and tax law require.
Suspending an account: we may suspend your account at once, without notice, while we look into a suspected breach of these terms, fraud, a payment dispute or chargeback, a security risk, or a request from an authority. A suspended account cannot sign in or render, and its plan stops renewing.
Closing an account for a reason: we may close your account at once, without notice, if you break these terms seriously or repeatedly (section 10), act fraudulently or abusively, try to harm Sketchfest or other people, or if the law or an authority requires it. You then get no refund for the current period, except where the law requires one.
Closing an account for any other reason: we may also close your account, or stop offering Sketchfest to you, for any other reason. We then tell you by email at least 30 days before, and refund the part of your plan you have not used.
Reasons: we usually tell you why. We may give no reason, or a short one, where the law does not allow more, where it would harm an investigation or someone's safety, where it would help someone get around our safety systems, or when we close an account with notice (above). If you think we made a mistake, reply to our email and a person will look at it again.
New accounts: we may refuse to open an account or sell a plan to anyone, and if we closed your account for a reason, you may not open a new one without our permission.
If we change these terms in a way that matters, we email you at least 30 days before the change applies. If you do not agree, you can cancel your plan and delete your account before then.
These terms are governed by the law of the Hong Kong Special Administrative Region. If you are a consumer, you also keep the protection of the mandatory laws of the country where you live, and you can bring a claim in the courts there. If you use Sketchfest for a business, the courts of Hong Kong decide any dispute. If something goes wrong, please write to [email protected] first: we reply within 5 working days.
We do not offer or sell Sketchfest to, from or within Cuba, Iran, North Korea, Syria, or the Crimea, Donetsk and Luhansk regions of Ukraine. You may not open an account, buy a plan or use Sketchfest if you are in one of these places or live there, if you act for a person or organisation there, or if you are named on a sanctions list of the United Nations, the European Union, the United Kingdom or the United States. If an account breaks this, we may suspend or close it at once (section 14).
BNER Limited, Unit 1603, 16/F, The L. Plaza, 367-375 Queen's Road Central, Sheung Wan, Hong Kong · [email protected]. We answer by email, in English.
Last updated 14 October 2026
The short version
BNER Limited, Unit 1603, 16/F, The L. Plaza, 367-375 Queen's Road Central, Sheung Wan, Hong Kong, runs Sketchfest and is the controller of your personal data (the "data user" under Hong Kong's Personal Data (Privacy) Ordinance). For anything in this policy, write to our Privacy Officer, BNER Limited, Unit 1603, 16/F, The L. Plaza, 367-375 Queen's Road Central, Sheung Wan, Hong Kong, or at [email protected].
Wherever you live, including in the EU and the UK, you can write to us directly about your data, and we handle every request ourselves.
You need to give us an email address to have an account, because we sign you in and send your downloads with it. If you do not, we cannot open an account for you. Everything else is up to you. Please do not upload drawings with other people's personal data that is not needed.
| What for | Legal basis (GDPR art. 6) |
|---|---|
| Running Sketchfest: your account, renders, projects and downloads | Contract |
| Plans, payments and our accounting records | Contract, and legal obligation for the records |
| Emails about sign-in, downloads, payments, your plan and changes to our terms | Contract |
| Keeping Sketchfest safe and fair: stopping fraud and abuse, one free render per person, limits, logs, and a record of our team's access | Legitimate interest |
| The automatic safety check, and keeping a locked copy of what it stops and of what is deleted, to investigate abuse and illegal content | Legitimate interest (keeping Sketchfest safe and lawful); legal obligation when we must keep or report illegal content |
| Recording your request to start a plan straight away, in case you cancel within 14 days | Legal obligation and legitimate interest |
| News and offers by email | Your consent, which you can withdraw at any time |
| Improving Sketchfest with counts that do not identify you, such as how often each look is used | Legitimate interest |
| Measuring visits and our ads, and showing Sketchfest ads on Facebook, Instagram and other sites (Google Analytics and the Meta Pixel) | Our legitimate interest in knowing how people find and use Sketchfest, and in advertising it. You can object and turn them off at any time under Cookie settings at the bottom of our pages, and they stop at once |
| Answering your messages | Contract or legitimate interest |
| Legal claims, and requests from authorities | Legal obligation or legitimate interest |
News and offers: only if you tick the box, we use your name and email address to send you tips, news and offers about Sketchfest's own services. We never use them for this without your consent, and we never give them to others for their marketing. You can stop at any time with the unsubscribe link in every such email, or on your Account page.
Your right to object: where we rely on legitimate interest, you can object at any time, for reasons relating to your situation. We then stop, unless we have compelling reasons that override your interests, or need the data for legal claims.
We do not make decisions about you based only on automated processing that have legal or similarly significant effects on you.
To make an image, we send your drawing, your settings and any words you add to one of our AI providers, which processes them for us and sends back the image:
They work under data processing terms with us. They do not use your drawings or images to train their models, and may keep them for up to 30 days only to detect abuse. We store the images they send back with your project. Make 2K and Make 4K enlarge a render you already made on our own server, without an AI provider.
The automatic safety check: before an engine sees your drawing, and before you see a render, both go, with any words you add, through OpenAI's moderation service, which looks for sexual content, violence, self-harm, hate, harassment and illegal activity. It does not use them for training. If it, or an engine's own filter, stops a render, the render does not run or is not delivered, your credits come back, and we keep a locked copy so that a person on our team can review it (terms, section 10). These checks only decide whether a render can go ahead; any decision about your account is made by a person.
Who can see them: only you. Our team cannot browse your drawings or renders. We open them only when you ask us for help with them, when they are reported or stopped by a safety check, or when the law requires it. Each time, we record who looked, when and why, and you can ask us for that record. If they are illegal, we may give them to the police or the responsible authority.
Providers who process data for us, under contracts that oblige them to protect it and use it only on our instructions:
| Provider | What for | Where |
|---|---|---|
| DigitalOcean | Our server: your account, drawings and images | Frankfurt, Germany |
| Cloudflare | Network, protection against attacks, and the bot check on the free render and the contact form (Turnstile) | Worldwide network |
| Mailgun (Sinch) | Sending our emails | EU region |
| OpenAI | Every render and final image, and the automatic safety check | United States |
| Microsoft | A backup for test renders when OpenAI is down | United States, and other Microsoft regions |
| Google (Google Analytics) | Measuring visits, unless you turn it off under Cookie settings | United States and other countries |
Companies that use your data as controllers in their own right:
We also share data, only as far as needed, with our professional advisers (such as accountants and lawyers) under a duty of confidentiality, with authorities when the law requires it, and with a buyer if Sketchfest is ever sold, in which case we tell you first. We never sell your data, and there are no ads on Sketchfest itself.
Your account, drawings and images are stored on our server in Frankfurt, Germany. We are a Hong Kong company, and our team may reach that data from outside the EU. Some providers process data in other countries, mainly the United States (among them Google and Meta, for the visits they measure). Where data protection law asks for safeguards, we rely on an adequacy decision, such as the EU-US Data Privacy Framework and its UK extension for certified providers, or on the European Commission's standard contractual clauses, with the UK addendum for UK data. Wherever your data is processed, it gets the protection this policy describes.
Everything travels encrypted (HTTPS). Your drawings and images are only sent to your own signed-in browser, and links to them do not work for anyone else. Our team signs in with a password and an authenticator code, and every look at your files is logged. Card details stay with Stripe. If a breach puts your data at risk, we tell you and the authorities as the law requires.
You can ask to see, correct, delete or take a copy of your data, to restrict or object to how we use it (section 3), and you can withdraw consent at any time. Analytics and advertising: turn them off under Cookie settings, at the bottom of our pages. You can do most of this yourself on the Account page: download my data, delete my account, and email choices. For anything else, write to our Privacy Officer at [email protected] or BNER Limited, Unit 1603, 16/F, The L. Plaza, 367-375 Queen's Road Central, Sheung Wan, Hong Kong. We reply within one month and do not charge for it; we may ask you to confirm who you are. When you ask us to delete your data, we delete it, except the locked safety copies for their 90 days and what the law requires us to keep. Stripe keeps its own payment records, which you can ask Stripe about (stripe.com/privacy).
If you are unhappy with how we handle your data, please tell us first. You can also complain to a data protection authority: in the EU, the one where you live or work (in Spain, for example, the AEPD at aepd.es); in the UK, the Information Commissioner's Office (ico.org.uk); in Hong Kong, the Privacy Commissioner for Personal Data (pcpd.org.hk).
We use what Sketchfest needs to work and stay safe and, unless you turn them off under Cookie settings, Google Analytics and the Meta Pixel to measure visits and our ads (section 3). The cookies page lists each one.
Sketchfest is not for children under 16, and we do not knowingly collect their data. If you think a child has given us data, write to us and we delete it.
If we change this policy in a way that matters, we email you before it applies. The date at the top shows the latest version.
Last updated 14 October 2026
Sketchfest uses the cookies and browser storage it needs to work and stay safe. From the moment you open the site, it also uses cookies from Google Analytics and the Meta Pixel, to measure visits and our ads. You can turn those off at any time.
| Name | What it does | How long |
|---|---|---|
| sf_sid (cookie) | Keeps you signed in | 90 days, or until you log out |
| sf_dev (cookie) | A random device ID: one free render per device, and lets you keep it when you sign in | 400 days |
| __cf_bm, cf_clearance (cookies, by Cloudflare) | Only when Cloudflare checks for bots or attacks: remember that your browser passed the check | About 30 minutes |
| Cloudflare Turnstile | On the free render and the contact form: tells people from bots, without puzzles | The visit |
| Local storage: sf_prefs | Remembers settings such as your last look and format | Until you clear it |
| Local storage: sf_trial_job, sf_trial_used, sf_free_wait | Your free render on this device, and the email its link went to while you wait | Until you sign in or clear it |
| Local storage: sf_pending, sf_paid | The email a sign-in code went to, and the page to return to after paying | Until used, or you clear it |
| Local storage: sf_cookies | Remembers that you closed the cookie notice with OK, or turned analytics and advertising off or on, and when | Until you change it or clear it |
| _ga, _ga_<id> (cookies, by Google Analytics) | From your first visit, unless you turn them off: counts visits and tells returning visitors apart | 2 years |
| _fbp, _fbc (cookies, by the Meta Pixel) | From your first visit, unless you turn them off: measures visits from and to our ads on Facebook and Instagram, and lets Meta show you our ads | 90 days |
| sf_track (cookie) | Only when you turn analytics and advertising off: tells our server not to send your steps to Meta either | 1 year |
| IndexedDB: sketchfest | Copies of your drawings and images on this device, so the studio opens quickly | Until you delete them or clear it |
When you pay, you are on Stripe's checkout page, where Stripe sets its own cookies for payment security and fraud prevention (Stripe's cookie policy).
Analytics and advertising cookies: turn them off or on again under , also at the bottom of our pages. Turning them off deletes their cookies on our site. You can also use Google's opt-out (tools.google.com/dlpage/gaoptout) and your ad settings at Meta.
Your browser settings let you block or delete any cookies and stored data. If you block the sign-in cookie, you cannot stay signed in; if you clear the device cookie, it does not give you another free render.
Our fonts load from our own server, so loading the page does not send your details to a font service.
Who runs Sketchfest, and how to reach us.
All prices are in euros. The price shown is the full price you pay.
The Sketchfest name, logo, website design and software belong to BNER Limited. The drawings you upload and the images you make are covered in the terms of use.